This guide is not medical advice. Stop use if significant pain, numbness, swelling, discoloration or circulation concerns occur.
The lock is the component that must work every single time, and it is the one most often abused by cage-cleaning enthusiasm: soaked with the cage, soap-filled, oiled with whatever was in the drawer. Cage and lock share a box; they do not share a care routine.
This guide separates the two jobs off-body, using the care boundaries of two documented kits. The general cleaning workflow lives in the hygiene guide; this page stays on the lock’s side of the sink.
What does the lock maker permit?
Whatever the lock’s own documentation states — and nothing more. Integrated-cylinder kits state their lock’s tolerances in the product care text: whether the cylinder tolerates rinsing, which cleaning it excludes, what to do when keys turn stiff. Padlock makers state shackle and body limits similarly. Where a listing is silent about its lock, the silence is a question for the seller, not an invitation to experiment.
The two example kits mark the boundary honestly: the Viper kit’s care text covers its integrated cylinder as a component of its stated care; the Chainmail Steel kit’s polished steel body tolerates more washing than its lock’s mechanism does — same box, different rules per part. Read per component, exactly as the mixed-material guide teaches.
Which cleaning steps apply only to the cage?
The wash, the brush, the rinse and the full dry — the entire hygiene workflow — belong to the cage body, rings and accessories. Vents, seams and interior surfaces get soap, water and attention; the lock gets none of it beyond what its maker permits. A rinse cycle that treats cage and lock identically is over-servicing one and under-documenting the other.
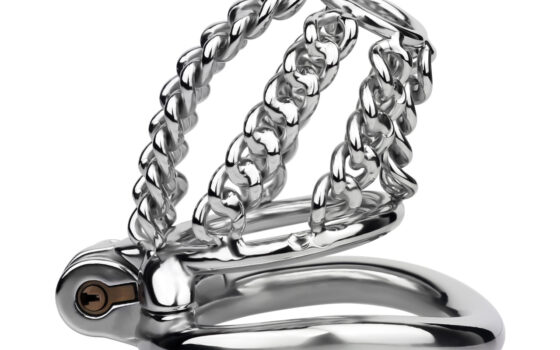
Mesh designs illustrate the split cleanly: the Chainmail Steel’s open structure rinses through in seconds — and that same enthusiasm, aimed at its lock, is exactly the water path the lock’s documentation may exclude. The mesh gets the flood; the mechanism gets the follow-up question.
The Viper Chastity Cage V7.0 EVO
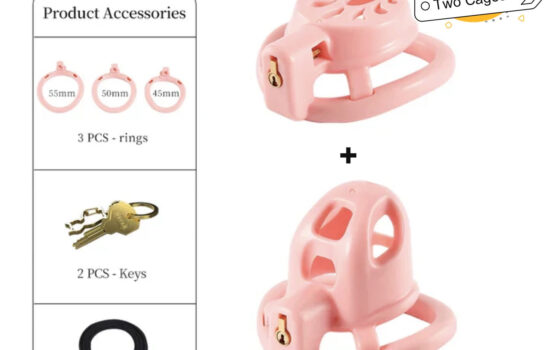
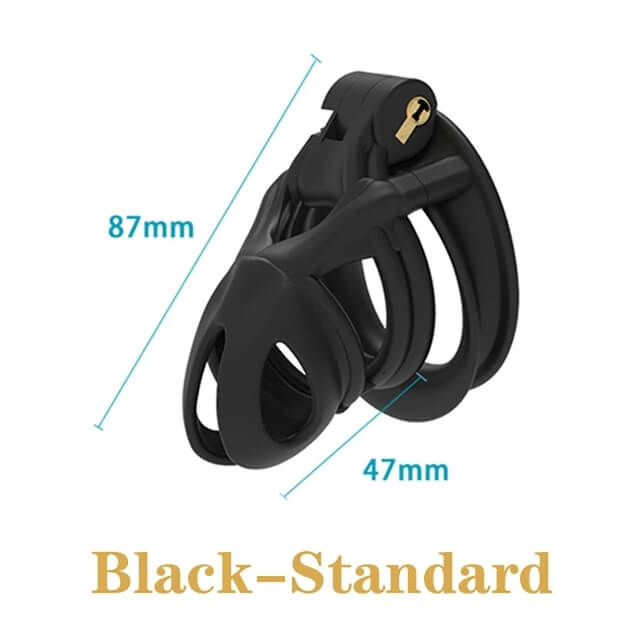
An integrated-cylinder kit whose care text covers the lock as a stated component: Choose the Viper V7.0 EVO for a nylon-resin kit with four base rings. One selected cage, a lock with two keys and a safety pin are included, giving you a clear starting set without buying each ring separately. Select the cage size on the product page.

Chainmail Steel Chastity Cage
A wash-tolerant mesh body whose lock still follows its own rules: Choose the Chainmail Steel Cage for its open chain-link design and a package with one cage, one selected ring and a lock with two keys. It is a different product from the Adjustable Chainmail model, so choose the ring option on this listing rather than assuming the ring adjusts.

Should the lock be removed before care?
Yes whenever the design allows — which is most padlock designs trivially, and many integrated designs by disassembly per the maker’s instructions. Care on a removed lock is care you can see, dry completely and inspect; care on an assembled device is a hope that water went where the maker said it could. The maker’s text decides what removal looks like; the habit of removing decides how well the lock ages.
The exceptions live where mechanisms are sealed or non-removable by design: those get exactly the listed cleaning and nothing else, with drying attention at the cylinder’s seams. The rule doesn’t change — only what “removing” means for your model.
When should a damaged lock be replaced instead of improvised on?
At the first symptom that touches function: a key that binds repeatedly, a shackle or cylinder that no longer seats cleanly, corrosion at the mechanism, play that grew. Lubricant folklore, graphite guesses and forced exercise are improvisations at the component your exit depends on — replacement is cheaper than every one of them and comes with new keys to re-label.
Replace through the correct channel: maker parts for integrated cylinders, dimension-matched padlocks for post designs — the procurement checklist in the replacement-lock guide. A lock is the one component where “it still works, mostly” is not a status; it is a countdown.
Wash the cage, ask the lock’s permission, remove what removes, and replace what degrades. The lock is the component that must open every time — treat its care as a separate, documented, conservative job, and it will outlast every other part of the kit.
This guide includes promotional links to ChastityCage.co. For locks with stated care components, browse chastity cage kits at ChastityCage.co.