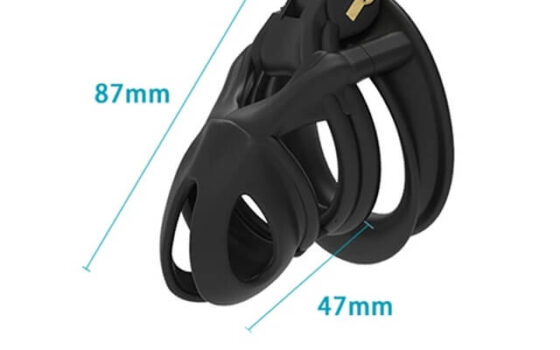
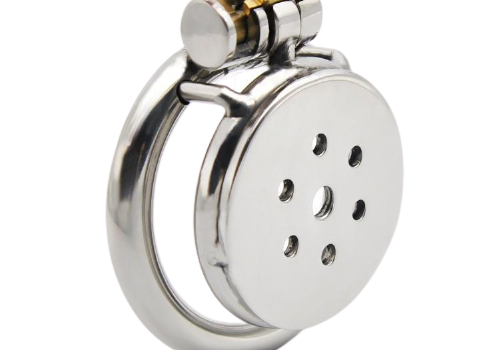
Base rings anchor, spacers set the gap, pins join the stack — three different chastity cage parts that don't transfer between models.
This guide is not medical advice. Stop use if significant pain, numbness, swelling, discoloration or circulation concerns occur.
Kit listings name their parts as if everyone knows what a spacer is. Most buyers don’t — and the three components are easy to confuse because they all live in the same two centimeters of hardware. Mixing up their jobs leads to two classic mistakes: buying rings to fix a gap problem, and buying spacers to fix a ring problem.
This guide separates the three parts, explains which of them actually changes the gap, and shows why you cannot freely mix them between models. For how the gap affects fit, see the ball-gap guide.
What job does each component do?
The base ring is the anchor: a closed loop sitting behind the penis and scrotum that carries the whole assembly’s load. The cage body is the enclosure, attaching to the ring at its rear plate. Between them sit the small parts: pins (or posts) rise from the ring and pass through the cage’s receiver holes to align the joint, and spacers slide onto those pins to set how far the cage sits from the ring. The lock passes through the assembled stack to close it.
Each part fails differently too. A wrong ring size slips or pinches. A wrong spacer stack crowds the scrotum or lets the cage wobble. A bent or mismatched pin stops the joint closing cleanly — which is a safety issue, not a tuning issue, because a joint that closes under force is a joint that may not open easily.
Which parts can alter the gap?
The gap — the space between ring and cage rear, through which the scrotum sits — is set by the spacer stack and influenced by ring shape. More or thicker spacers widen it; fewer or thinner spacers narrow it. A round ring versus a curved or arc ring presents the cage at a slightly different angle even with identical spacers, which is why the same spacer set behaves differently across ring styles.
What does not change the gap: cage length, ring inner diameter, and lock type. If the problem is pinching at the connector or a scrotum crowded against the cage rear, the parts that matter are spacers and possibly ring style — not a smaller ring, and not a shorter cage. Diagnose which part owns the symptom before buying anything.
Why are spacer and pin pairings model-specific?
Because the joint is a designed stack: pin diameter, pin spacing, spacer inner and outer diameter, and the receiver holes in the cage plate are all cut to one product’s tolerances. A spacer from another kit may slide onto a pin it almost fits and still change the stack’s alignment — the cage sits crooked, the lock channel misses, and pressure lands unevenly on tissue. Manufacturers therefore sell spacers and pins for their own systems, and honest listings name the model a part fits.
This is also why kits bundle these parts rather than letting you assemble à la carte. A complete kit arrives with a matched stack: rings, spacers, pins and lock cut for each other. When you need a different gap than the included spacers provide, the right purchase is the spacer set made for your cage model — not a handful of near-enough parts from a different product line.
How should you label a parts photograph?
Photograph your disassembled device on a plain surface with a ruler in frame, then label each part in the photo or its caption: “base ring — 45 mm inner diameter,” “spacers — 2 included, one thick one thin,” “pin/post,” “lock + 2 keys.” One labeled photo answers every seller question about your setup, documents what arrived in case of a missing part, and becomes the before-picture when you reorder components.
Keep the photo with your size record. Six months later, “the thin spacer from the second kit” means nothing; “the 4 mm spacer photographed on October’s parts sheet” means exactly what you need it to. Parts management is record management — the hardware is small, and the drawer it disappears into is deep.
Ring anchors, spacer sets the gap, pin joins the stack — three jobs, three parts, no substitutions between models. Learn which part owns your symptom, buy only the part made for your cage, and label the hardware before it becomes anonymous in a drawer. The joint is where comfort and safety live; keep it a matched set.
This guide includes promotional links to ChastityCage.co. To see matched part stacks on current kits, browse chastity cage kits at ChastityCage.co.