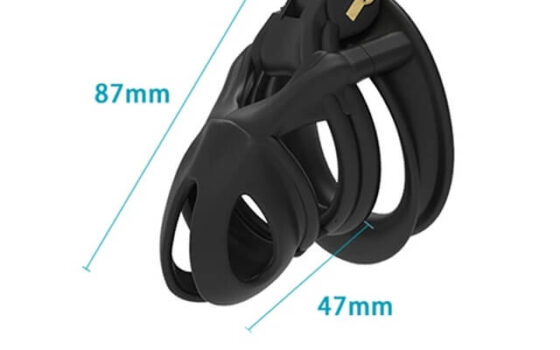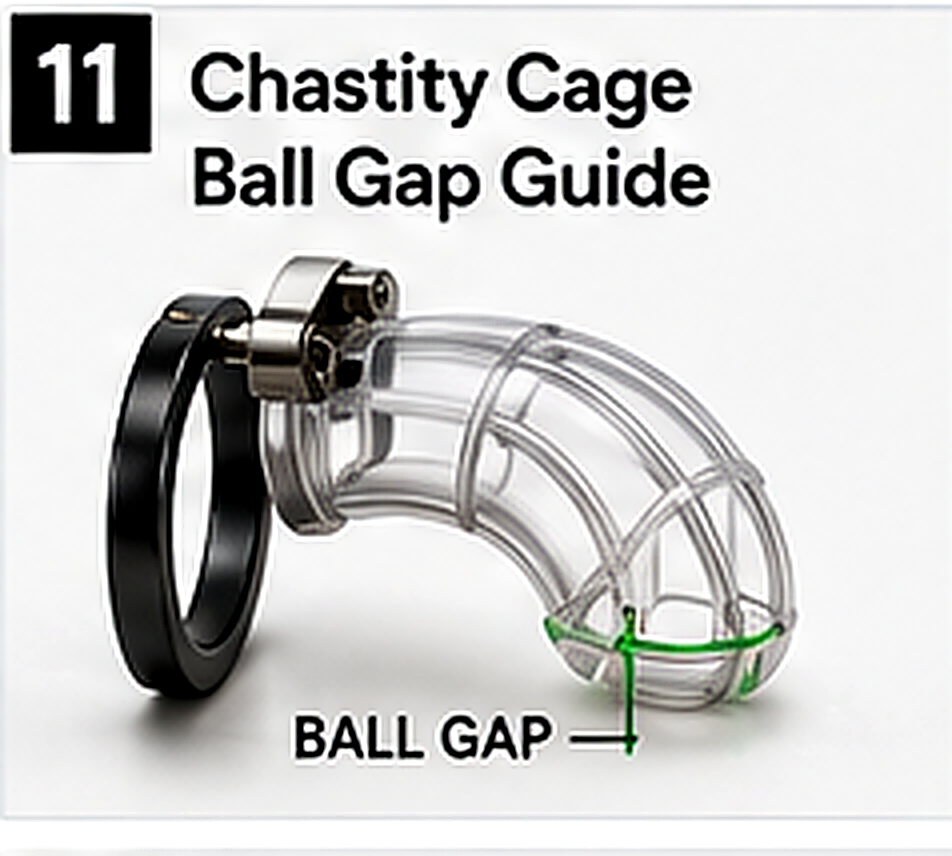
An explanation of the ring-to-cage gap, the problems created by extremes and a method for changing one spacer at a time.
This guide is not medical advice. Stop use if significant pain, numbness, swelling, discoloration or circulation concerns occur.
Gap receives less attention than ring size and cage length because it is harder to describe with a simple body measurement. Yet it is often the reason a device that “should fit” still pinches in a chair or pulls forward while walking.
Start with the full measurement overview in how to measure for a cage, then treat gap as an adjustable relationship between body and hardware.
Where the gap is measured
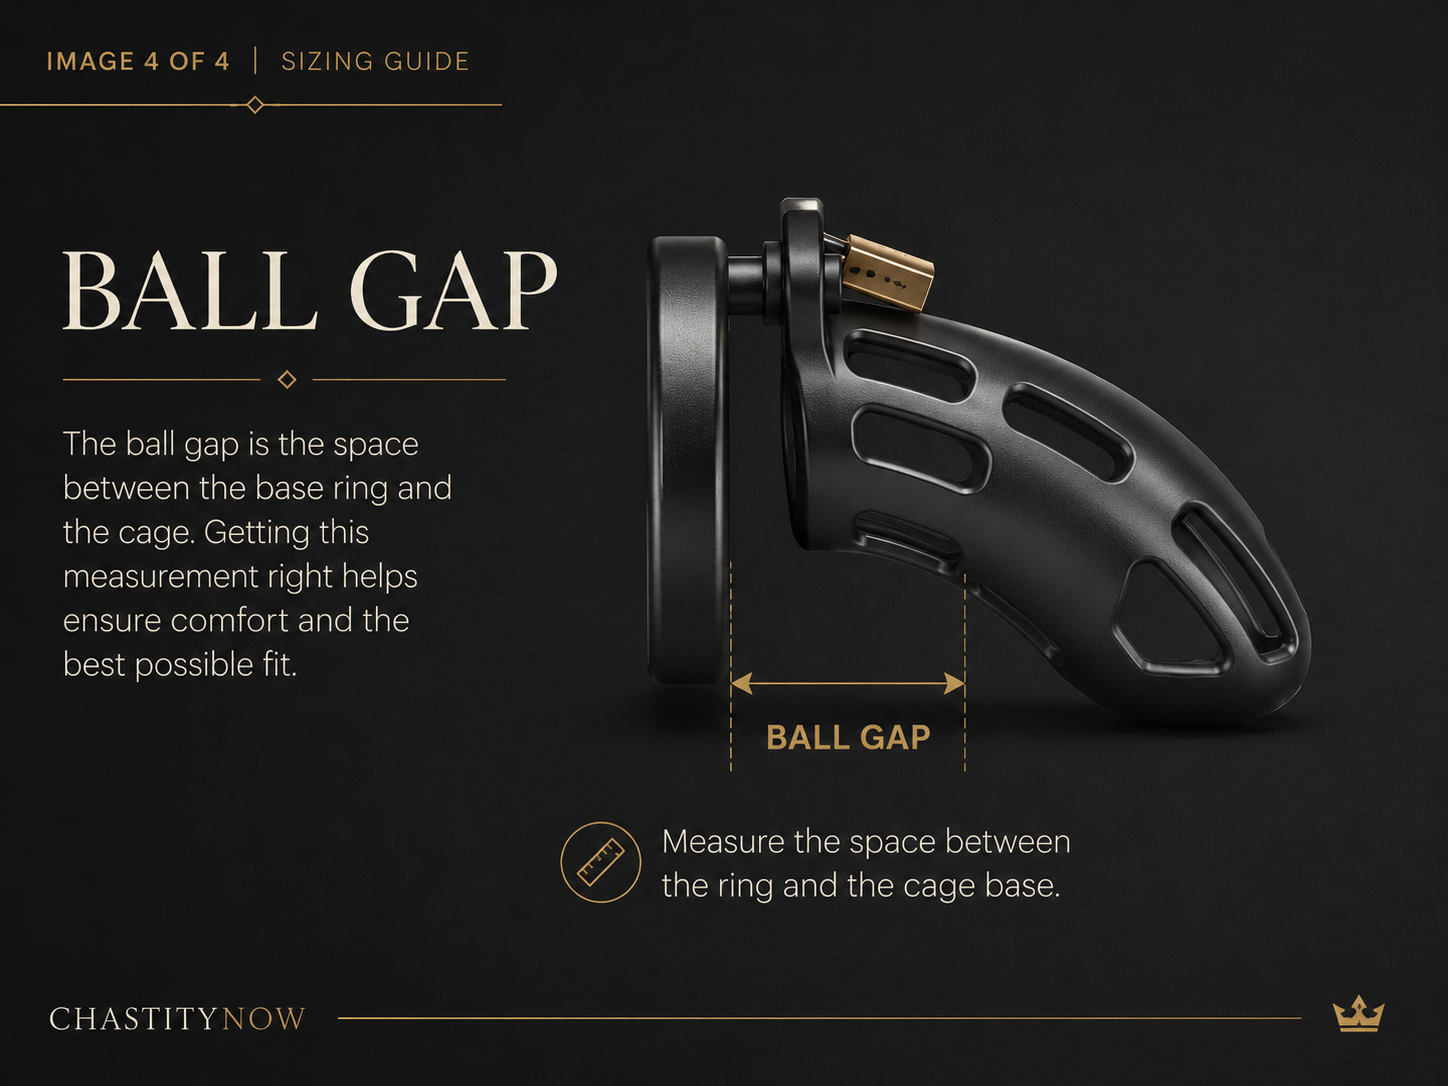
On a ring-based device, the gap is measured from the front face of the base ring to the rear face of the cage along the connector. Some makers publish this value; others describe spacer or pin lengths without showing the resulting clearance.
Curved rings, angled cages and oval geometry make one straight number incomplete. A technical drawing should show exactly which faces define the value.
What too little gap can do
A very small gap can compress soft tissue between the ring and cage. Pinching may appear at a guide pin or along the lower edge, especially when sitting, bending or when the device shifts. Assembly can also become difficult if tissue must be pushed away while the connector closes.
Never force the pieces together. If alignment requires pressure on the body, disconnect and try a less restrictive configuration.
What too much gap can do
Excess clearance can let the cage move independently from the ring, increasing rubbing and forward pull. It may also allow tissue to slip through in ways that create a new pinch point or make the device feel insecure.
Do not automatically reduce ring size to correct this. The gap, cage length and weight may be the real sources of movement.
How to test adjustable gaps
- Start with a cautious maker-recommended spacer.
- Assemble the device off the body and inspect pin length.
- Fit the complete device unlocked.
- Stand, sit, walk and bend.
- Check the lower connector and both sides for trapped tissue.
- Remove and record exactly where pressure occurred.
- Change only the spacer or gap, then repeat.
Read movement patterns instead of chasing a number
| Pattern | Possible gap signal | Also check |
|---|---|---|
| Sharp pinch when seated | Too little or poor connector alignment | Ring angle and hinge |
| Forward rocking while walking | Too much clearance | Cage length and weight |
| Tissue caught during assembly | Insufficient working space | Pin design and technique |
| Slippage without base pressure | Excess gap possible | Ring shape and enclosure fit |
Why copying someone else’s gap fails
Two people with the same ring diameter may have different ring positions, tissue distribution and preferred ring shapes. Two devices with the same published gap can angle differently once worn. Community numbers can suggest available options but cannot validate your fit.
Use your observations and the complete fit guide. The correct gap is the one that remains stable and non-pinching in your intended routine.
When another component is the real problem
If every spacer pinches in the same place, inspect the connector, seam or ring curvature. If every large gap feels unstable, the cage may be too long or heavy. If the ring creates all-around pressure, changing the gap will not fix ring size.
Fit diagnosis improves when one variable changes at a time and failed configurations are written down.
Gap and ring angle interact
A curved ring can change the effective space around the connector even when the published gap stays constant. The top and bottom clearances may not match. Inspect the complete circumference, especially where guide pins or a hinge approach the body.
Spacer labels can describe hardware length rather than final clearance. Assemble the device off the body and compare each option before testing.
Make a simple gap record
For each spacer, note standing comfort, chair pinch, forward pull, slippage and the mark pattern after removal. That record prevents a return to a configuration that looked correct but failed during movement.
The Fit & Comfort hub connects this component with the full measurement and diagnostic process.
Technical references
- KINK3D FAQ — defines ball gap as the space between cage and base ring and explains why too little or too much can fail differently.
- KINK3D base-ring specifications — shows that gap can change with both ring size and ring style within one product system.
Those tables describe one manufacturer’s geometry. They are evidence that the variables interact, not a universal millimeter target.
Let movement answer the gap question
Ball gap is small on a diagram but central in motion. Test it with the ring and cage attached, observe sitting and walking, and change one spacer at a time. A stable, non-pinching fit matters more than matching a popular number.