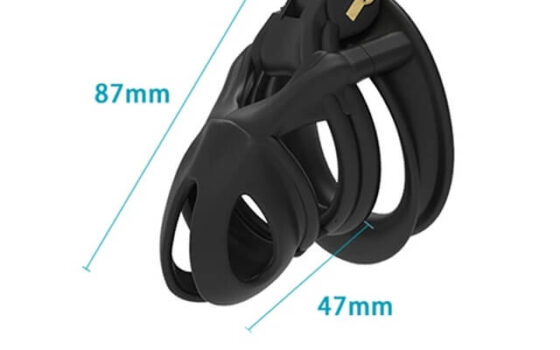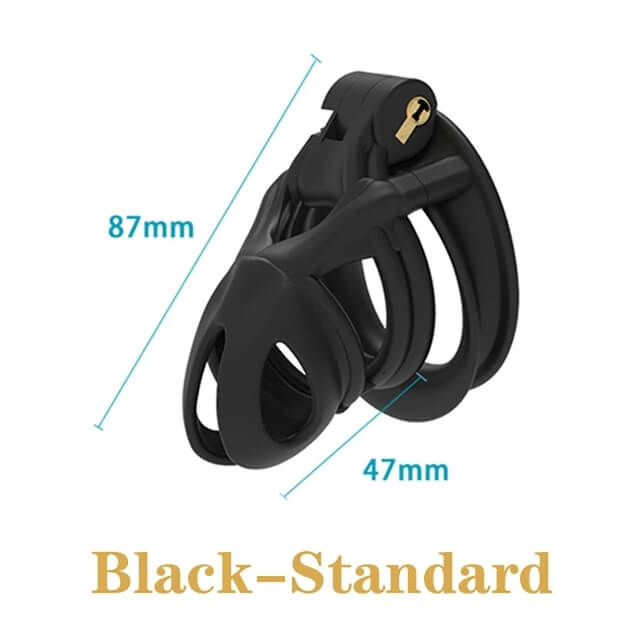
Take a useful chastity cage measurement photo: object and ruler in one plane, camera square, reference points visible, saved with the model name.
This guide is not medical advice. Stop use if significant pain, numbness, swelling, discoloration or circulation concerns occur.
A measurement photo is a sentence in evidence form: one image that tells a seller exactly what you have, tells a chart exactly what to compare, and tells your future self exactly what that number meant. Taken casually, it is a blurry rectangle with a ruler somewhere in it. Taken deliberately, it replaces three emails.
This guide covers the four habits of a useful measurement photo. The chart-reading context is in the size-chart guide; the length concepts behind the arrows are in the length guide.
Place the object and ruler in one plane
Lay the cage flat on a plain surface and lay the ruler in the same plane, touching or nearly touching it. When object and scale sit at different heights, the camera sees them from different angles and the numbers stop corresponding — the classic “the ruler says 60 but the photo reads 55” illusion. Same table, same level, edges aligned: the plane is the whole trick.
Use a rigid ruler rather than a soft tape in photos; tapes curl, and the curl reads as shorter or longer depending on where the camera stands.
Keep the camera square to the measurement
Hold the camera directly above the measurement — square to the surface, not at an angle from the side. A tilted camera stretches the axis nearest the lens and compresses the far one, which is exactly the distortion that makes two honest photos of the same cage disagree. Frame the shot, check that the ruler’s markings are readable at the two reference points, then shoot.
One straight-on photo of the full span plus one close-up of each reference point covers every question a seller or chart comparison will ask.
Show the exact reference points
The photo must show where the measurement starts and ends: the inner rear surface, the tip, the ring’s inner faces — whatever the number claims. Place a fingertip or a small marker at each reference point before shooting, so the image shows the span rather than inviting the viewer to guess it. A photo without visible reference points documents nothing, however sharp it is.
If the photo supports a seller question, the reference points are the answer: “the arrow in your chart starts here and ends here — my measurement between them reads 58 mm.” The image closes the loop the words open.
The Viper Chastity Cage V7.0 EVO
A chart worth photographing against: The Viper V7.0 EVO’s stated rows — four rings at 38/43/48/52 mm, length classes from Nub to Standard — give your measurement photo a document to be read against; photograph the cage beside its own chart on a screen or printout and the comparison ships itself. Check: photograph the variant you selected; the chart row must match the body on the table.

Save the photo with the model name
Save the image named for the object and the dimension: “viper-evo-standard-inside-length.jpg,” not “IMG_4471.” File it in the kit’s records folder beside the size log. Six months later, the named photo answers a support ticket or a chart dispute instantly; the numbered file is a stranger.
For kits with multiple bodies or rings, one named photo each — the whole set photographed once with a ruler becomes the kit’s visual inventory, per the parts-labeling method, and every future measurement conversation starts from it.
Flat & Small Chastity Cage Set
And the two-body set that especially needs named photos: The Flat & Small Set’s two similar-looking bodies are the strongest case for named measurement photos — one image per body, named by silhouette, ends the flat-versus-small identification question permanently. Check: photograph each body with its own ruler span; one combined photo cannot label both.

One plane, square camera, visible reference points, a name that says what it shows: four habits that turn a snapshot into evidence. The measurement photo is the cheapest document in this hobby — and on the day a chart disagrees with you, it is the only one that speaks for your side.
This guide includes promotional links to ChastityCage.co. For kits worth photographing against their own charts, browse chastity cage kits at ChastityCage.co.
Related ChastityNow guides
- How to read a chastity cage size chart
- Chastity cage length guide