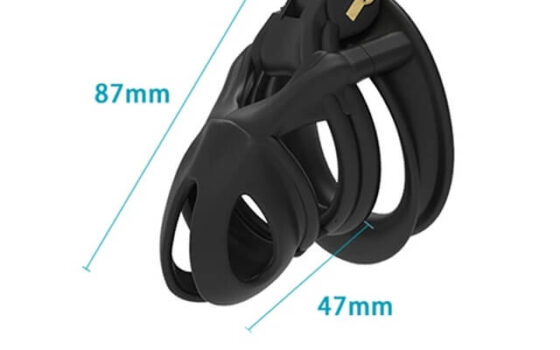
A base-ring-specific diagnostic that avoids repeating the complete loose-cage guide.
This guide is not medical advice. Stop use if significant pain, numbness, swelling, discoloration or circulation concerns occur.
The ring supports the rest of the device, so cage length, weight and gap can make a reasonable ring appear loose. Test the ring and the assembly separately when possible.
Read the pattern before changing the size
Notice whether the ring moves alone, the cage pulls it forward or the problem appears only when the body is warm or cold. Natural variation means one moment is not enough evidence.
Common causes and the first check
| Possible cause | What to inspect |
|---|---|
| Ring diameter | Repeat circumference measurements under calm conditions. |
| Ring shape | Compare round, oval or curved geometry and pressure distribution. |
| Cage leverage | Check length, weight and projection before downsizing. |
| Gap interaction | Check whether excess clearance permits escape or rotation. |
Use a one-change troubleshooting sequence
- Record ring size, shape and conditions.
- Test the ring alone briefly if the design permits.
- Check whether the cage changes the result.
- Try only the next conservative size or shape.
- Repeat short movement tests and inspect after removal.
Record the exact ring, cage, spacer or gap, clothing and activity. Change one variable, then repeat a short waking test. If several dimensions change together, the result cannot tell you which change helped.
What not to treat as an adjustment period
Do not select a smaller ring that creates numbness, swelling, coldness, colour change, deep pressure or urinary difficulty simply to prevent movement.
Retest in the position that exposed the problem
Include changes in posture and temperature. The ring should remain stable without biting, deep grooves or constant manual adjustment.
Check the neighboring variables
A ring, cage body, gap and lock operate as one assembly. A symptom at one point may be amplified by weight, length, posture or clothing elsewhere. Before buying another size, confirm which component moved and which component carried pressure. Testing the ring alone, assembling the device off the body and comparing standing with seated posture can prevent a correction aimed at the wrong part.
Know when the design is the wrong match
Repeatedly adding tighter clothing, more lubricant or smaller hardware can hide rather than solve a geometry problem. If the same issue returns after one careful correction, or if safe stability would require constriction, stop using that configuration. A different ring shape, connector, cage profile or complete device may be more appropriate than continued adjustment. Keep the decision evidence-based: note what was worn, what happened, what changed and whether the result repeated.
Describe the issue clearly if you need help
Useful notes include the exact location, onset, posture, device configuration and what changed after removal. Separate what you observed from what you think caused it. A seller can clarify dimensions or hardware, while a qualified health professional is the appropriate person for persistent symptoms or uncertainty about an injury. Neither should be asked to approve continued wear while a warning sign is active.
Continue with the relevant ChastityNow guides
The bottom line
Treat a loose ring as one variable in the assembly. Confirm movement, separate cage leverage from ring size and choose the least restrictive change that restores stability.
This article belongs to the Fit Comfort library, where the surrounding guides cover the wider topic.