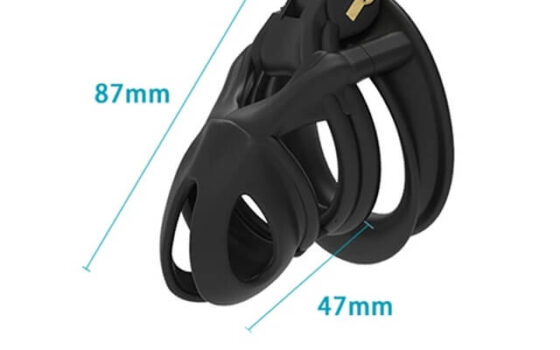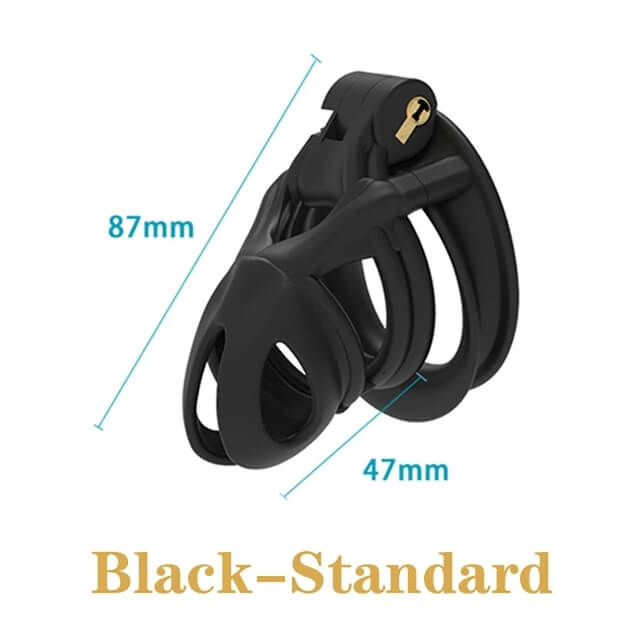
Photograph a new chastity kit before mixing parts: unopened package, grouped components, size labels, defect close-ups — filed privately for accurate support requests.
This guide is not medical advice. Stop use if significant pain, numbness, swelling, discoloration or circulation concerns occur.
The unboxing sequence exists to produce evidence, and the camera is its main instrument. Photographed correctly — privately, systematically, with size labels visible — a new kit documents itself: what arrived, what the labels said, what condition it arrived in. The images cost minutes and answer the questions that support tickets, returns and chart disputes ask for months.
This guide is the photo sequence for a new kit’s arrival. It pairs with the full unboxing checklist in the unboxing guide.
Show the unopened package details privately
Before opening anything, photograph the shipping package: the label side (with personal details covered), the condition of the box, and the sealing tape. These images document transit handling — the evidence that decides a carrier-damage claim — and the covered label keeps the documentation private. Then the product box itself: all sides, including any variant or configuration marking printed on it.
Keep every image private by default: stored in the kit’s records folder, not shared to any feed or group. The photos are evidence, and evidence does not need an audience to work.
Lay out components by type
Open the product box and lay every component on a plain surface, grouped by type: bodies together, rings in size order, lock with its keys, small parts in their groups, belt flat. Photograph the full layout once with a ruler in frame, then each group close up. This is the arrival inventory in visual form — the image that proves what shipped before anything moves.
The grouped layout also does the count for you: missing parts are visible as empty space in the pattern, which is easier to spot than a short stack of mixed hardware.
Record selected size labels
Photograph the size labels where they live: the stamp on a ring, the variant marking on the box, the menu option crossed on the order slip. Selected sizes are the details that decide whether the right variant shipped, and they live in small print in several places. Capture each one; the images join the size record as its visual proof.
On a kit like the Flat & Small Set with two bodies, photograph both bodies’ markings in one frame — one image that identifies the set completely.
The Viper Chastity Cage V7.0 EVO
A kit whose package list photographs well: The Viper V7.0 EVO’s documented package basis — one body, four rings at 38/43/48/52 mm, lock with two keys, safety pin — gives the photo sequence its checklist: every listed item visible in the layout shot. Check: the ring set ships as a group; the layout photo proves all four arrived together.

Keep images for an accurate support request
File the whole sequence — package, layout, labels, any defects with scale in frame — in the kit’s records folder. If a support request ever comes, the images assemble the ticket in minutes: what was ordered, what arrived, what condition, with dates. Most requests never happen; the ones that do resolve faster because the evidence was taken before anything was touched.
The same images also serve the chart-comparison conversation: your photo of the delivered cage beside its listing’s chart is the neutral document that settles which of them was wrong.
Chainmail Steel Chastity Cage
And the kit whose junctions need the close-ups: For the Chainmail Steel cage, add junction close-ups to the sequence: every link intersection photographed on arrival, when a shipping defect is still the seller’s and not yet yours. Check: mesh shows transit damage at its junctions first — the close-ups are where the steel kit’s arrival story is told.

Unopened package, grouped layout, size labels, defect close-ups, filed by name: the photo sequence that documents a new kit in ten minutes. Most kits never need their photos — but the ones that do are the deliveries where ten minutes of camera work was worth more than every review you ever read.
This guide includes promotional links to ChastityCage.co. For kits with printable package lists, browse chastity cage kits at ChastityCage.co.
Related ChastityNow guides
- Chastity cage unboxing checklist
- Measurement photos with scale