A base-ring guide covering circumference conversion, ring shapes, practical fit testing and the signs that a different size or design is needed.
This guide is not medical advice. Stop use if significant pain, numbness, swelling, discoloration or circulation concerns occur.
The base ring carries much of the device’s load, so it attracts overly simple advice: choose the smallest ring you can tolerate, use a finger test, or copy the most common size. None accounts for your body or the complete assembly.
Start with the measurement method in how to measure for a chastity cage, then use this guide to interpret and test the result.
Convert circumference to a starting diameter
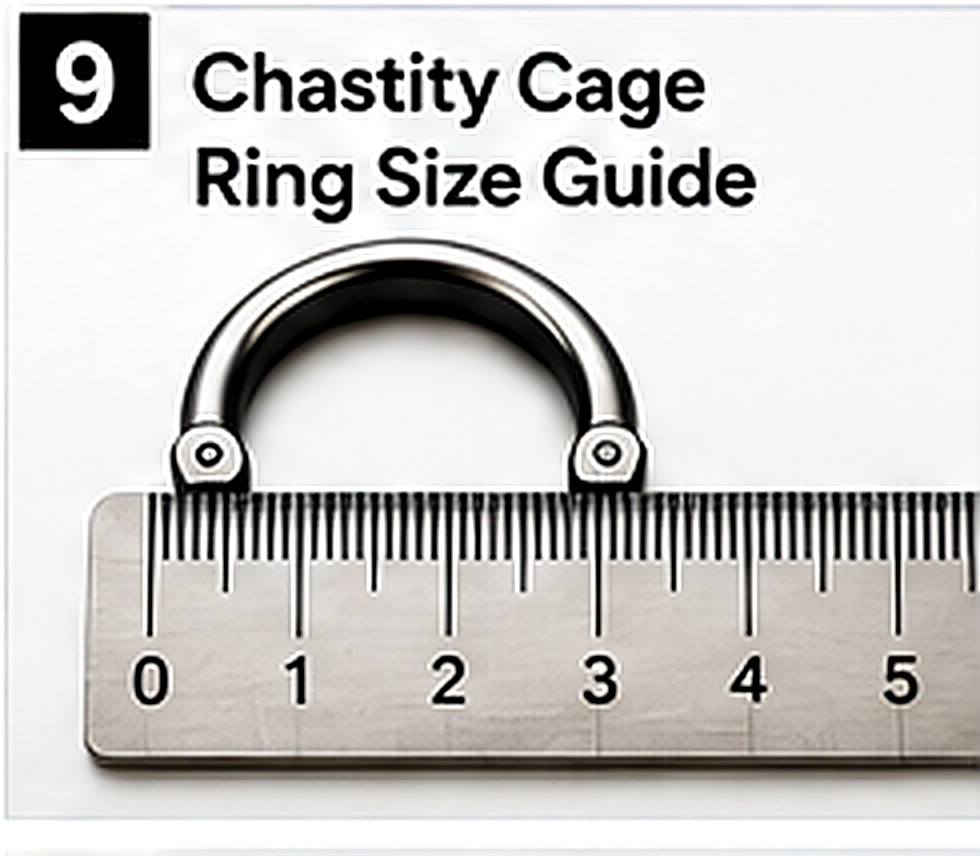
Use a soft tape around the intended ring path without pulling it tight. Record millimeters. Divide circumference by 3.14 to estimate the diameter of a circle with the same circumference. For example, the calculation is circumference ÷ 3.14 = approximate round diameter.
Do not round down automatically. If the result falls between available rings, begin with the less restrictive plausible option and compare under observation. Keep the original circumference because oval rings and unusual shapes cannot be judged by one round-diameter label alone.
Why identical labels can fit differently
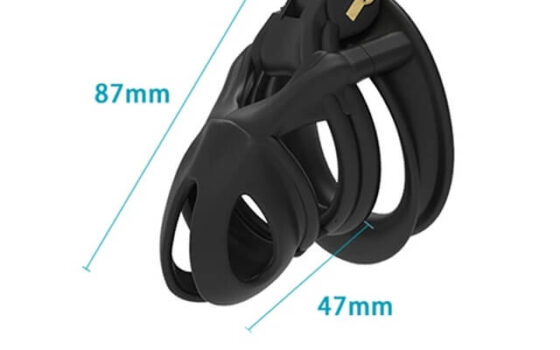
A thin circular ring concentrates contact differently from a thicker ring. An oval ring changes width and height. A curved ring may follow the body more closely, while a flat ring can sit farther forward. A hinge adds bulk and a possible pinch point.
Product pages should specify internal dimensions and ideally provide a drawing. If they list only “small,” “medium” or an external diameter, ask for clarification before buying.
Test the ring before attaching the cage
Fit the clean ring alone for a short waking period. Stand, sit and walk. It should remain supported without creating progressive pressure or capturing skin at a hinge. Remove it and inspect the contact path.
A ring-alone test isolates the ring, but it is not the final answer. The attached cage adds leverage and weight; the gap changes how force reaches the ring.
Test the complete device unlocked
Attach the cage using the intended gap and wear the assembly unlocked. Repeat the movement test and use the bathroom. A ring that felt fine alone may pull once the front section is added. Conversely, a ring that moves slightly may settle when the cage length is correct.
Evaluate with the whole-device fit checklist before changing sizes.
Signs the ring may be too small
- Pressure builds rather than settles.
- Numbness, tingling, coldness or unusual discoloration appears.
- Swelling increases in front of the ring.
- A deep pressure line persists after removal.
- Sitting creates a strong circumferential squeeze.
These signs are reasons to remove the device, not milestones. A smaller ring is not a safe cure for slippage caused by cage length or gap.
Signs the ring may be too large—or simply unsupported
- The ring slides or rotates substantially during ordinary movement.
- The cage swings and rubs rather than following the body.
- The assembly pulls forward with clothing.
- Slippage occurs even though the enclosure and gap are correct.
Before sizing down, review weight, cage length, gap and underwear support. Treat the ring as one component, not the only source of stability.
Keep a fit log
| Configuration | Test | Result to record |
|---|---|---|
| Ring alone | 30–60 minute waking movement | Pressure path, rotation, skin marks |
| Full device unlocked | Sit, walk, bend, bathroom | Pull, pinch, alignment, removal |
| Short locked session | Quiet daytime observation | Change over time and after removal |
Only progress when the previous stage is uneventful.
Do not confuse diameter, circumference and ring thickness
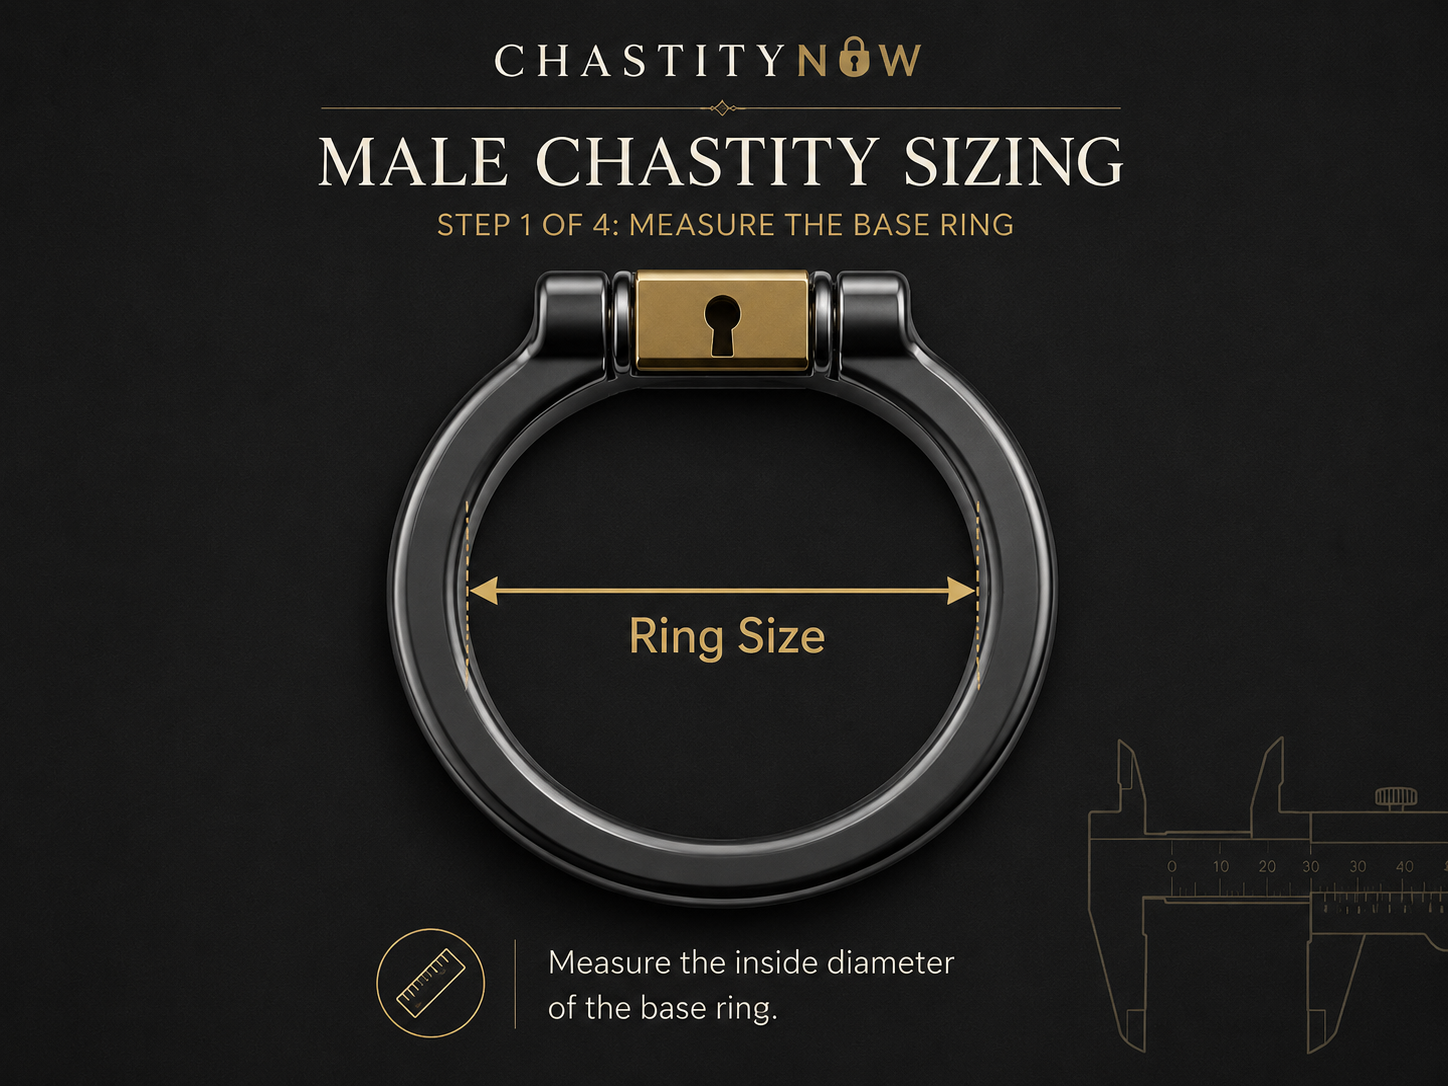
A 45 mm ring label normally refers to internal diameter, but the same internal opening can feel different with a thick round cross-section, a thin flat band or an oval shape. The outer diameter affects bulk and the way a cage connector sits.
When comparing listings, keep the calculated diameter beside the original circumference. That helps you spot a conversion error and prevents an inch value from being mistaken for millimeters.
Why a sizing ring kit can help
A set of smooth rings can isolate size and shape before cage weight is added. It does not replace the complete-device test, and improvised rings with rough joins or uncertain materials should not be worn.
Chainmail Chastity Cage (Adjustable Ring)
For ring-size bracketing, this chainmail design replaces a stack of fixed rings with one ring that adjusts across a stated 38–60 mm span — roughly the entire common base-ring range — so a ring-alone test can move through sizes the way a sizing kit does, then keep the setting that held. Check: retighten and re-verify the adjustment during each unlocked fit test, and remember the cage body itself comes in fixed Short or Long.

The Fit & Comfort hub connects this component with the full measurement and diagnostic process.
Formula card: keep the units visible
Estimated circular diameter = measured circumference ÷ π. A 150 mm circumference produces an estimated diameter of about 47.7 mm. This is geometry, not a recommendation: ring shape, cross-section, tissue response and the weight of the full cage still change how the opening behaves.
| Record | Why keep it |
|---|---|
| Original circumference and unit | Lets you audit the calculation later. |
| Calculated diameter | Helps compare circular inner-diameter listings. |
| Ring shape and thickness | Explains why two equal diameters can feel different. |
| Ring-alone result | Isolates the ring before weight is added. |
| Full-device unlocked result | Shows how length, gap and leverage change the fit. |
Sources and sizing caveats
- KINK3D base-ring specifications — shows how internal diameter, ring thickness and ring style are separate product variables.
- KINK3D sizing guidance — explicitly treats sizing as trial and error rather than a definitive calculator result.
- Cleveland Clinic: cyanosis — supports treating unusual blue, purple, gray or white discoloration with numbness as a reason to remove the device and seek appropriate care.
From calculation to confirmation
Your calculated ring diameter starts the search; an unlocked movement test decides whether a configuration deserves another trial. Compare size and shape, then judge the ring with the cage and gap attached. Security never justifies constriction.
Reading an Oval Ring Chart: Width Is Not Circumference
Oval rings bring a second number and a common misread. The chart may state two internal figures — width across the narrow axis, height across the long axis — or one “equivalent diameter” with the oval noted. The misread: treating the wide axis as if it were a round ring’s diameter. It isn’t: the fit binds at the narrow axis, which is the number your circumference-converted diameter should be compared against, with the long axis providing the relief that makes ovals comfortable for some anatomies.
No universal conversion exists from your round-ring measurement to an oval — the aspect ratios differ per design. What transfers: your measured base-path circumference, written down, compared against the narrow-axis figure, with the fit test deciding whether that ring’s particular oval suits you. Measure, compare the binding axis, test unlocked; the oval’s comfort reputation is earned per design, not per shape name.
Ring Thickness: A Missing Detail in Some Size Charts
Inner diameter sizes the opening; ring thickness (the cross-section of the ring’s own material) changes how that opening feels — and it is the row most often missing from size charts. A thick round cross-section distributes pressure over a narrower contact band and adds bulk at the connector; a thin flat band lies wider, reads lower under clothing, and can edge at pressure points. The same 45 mm inner diameter wears differently across thicknesses, which is why two rings of your size can feel like different products.
When a chart omits thickness, the seller question is one line — “what is the ring’s cross-section thickness?” — and the Replacement Arc Ring’s listing shows the pattern of a part page worth reading closely for exactly such stated details. Record thickness beside size in your fit log; the pair, not the solo number, is what reorders correctly.
Replacement Arc Ring
The Replacement Arc Ring is sold separately in listed 40, 45 and 50 mm options. Choose it when you need a ring rather than another complete cage kit. Match the exact cage connection and size first; an arc shape alone does not establish compatibility with another model.