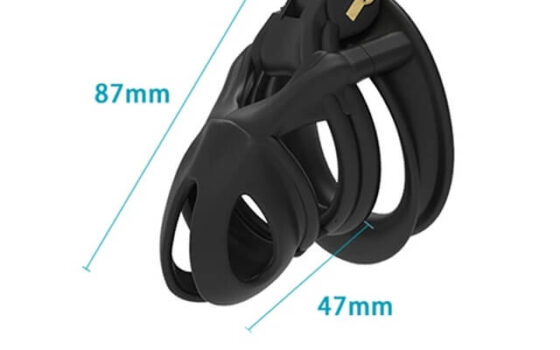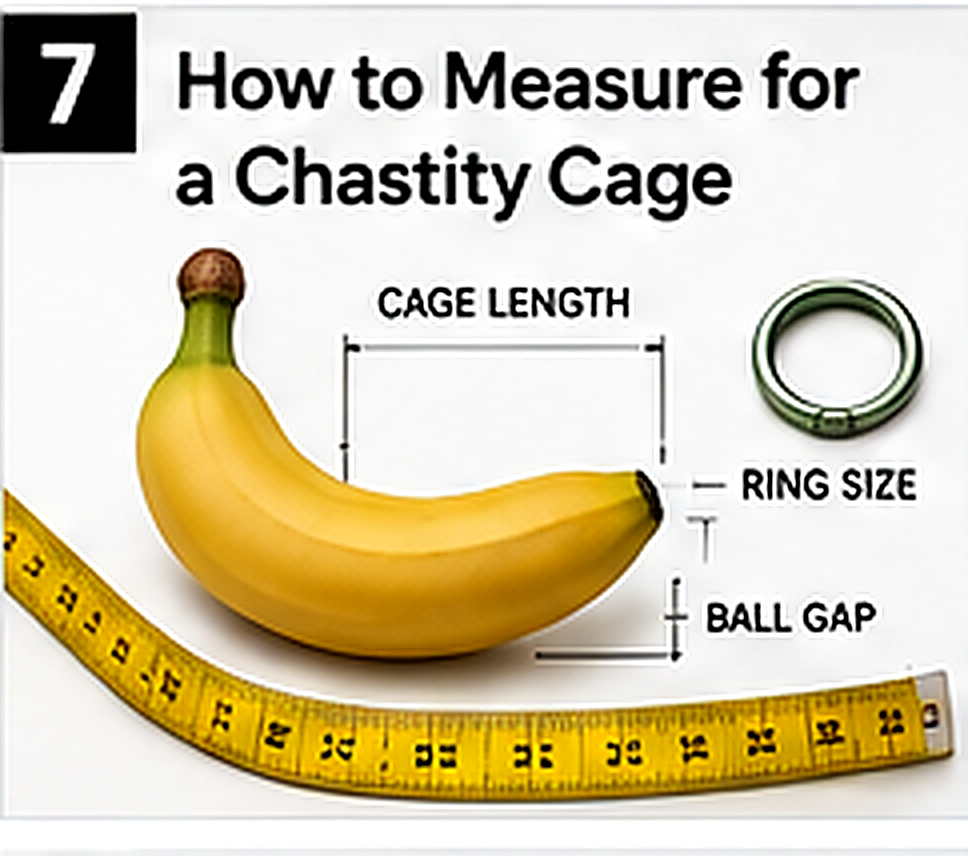
A practical measuring process for the four dimensions that influence chastity cage fit, with repeat checks and product-label pitfalls to avoid.
This guide is not medical advice. Stop use if significant pain, numbness, swelling, discoloration or circulation concerns occur.
Chastity cage sizing goes wrong when one number is asked to solve every part of the fit. A correct ring cannot compensate for an enclosure that is too narrow, and a suitable length cannot prevent pinching caused by the wrong gap.
This guide creates a measurement record. The next step is to interpret that record with how a chastity cage should fit, because body numbers are only the starting point.
What you need and when to measure
- A soft tailor’s tape, or non-stretch string plus a ruler.
- A straight ruler for length.
- A warm, private room where you can remain relaxed.
- A notes app or paper that records units and conditions.
Measure when fully relaxed, not immediately after exercise, cold exposure or arousal. Do not pull tissue or compress the tape to create a smaller number. Repeat the set at least a few times on different occasions; normal variation is why a range is more useful than one “perfect” reading.
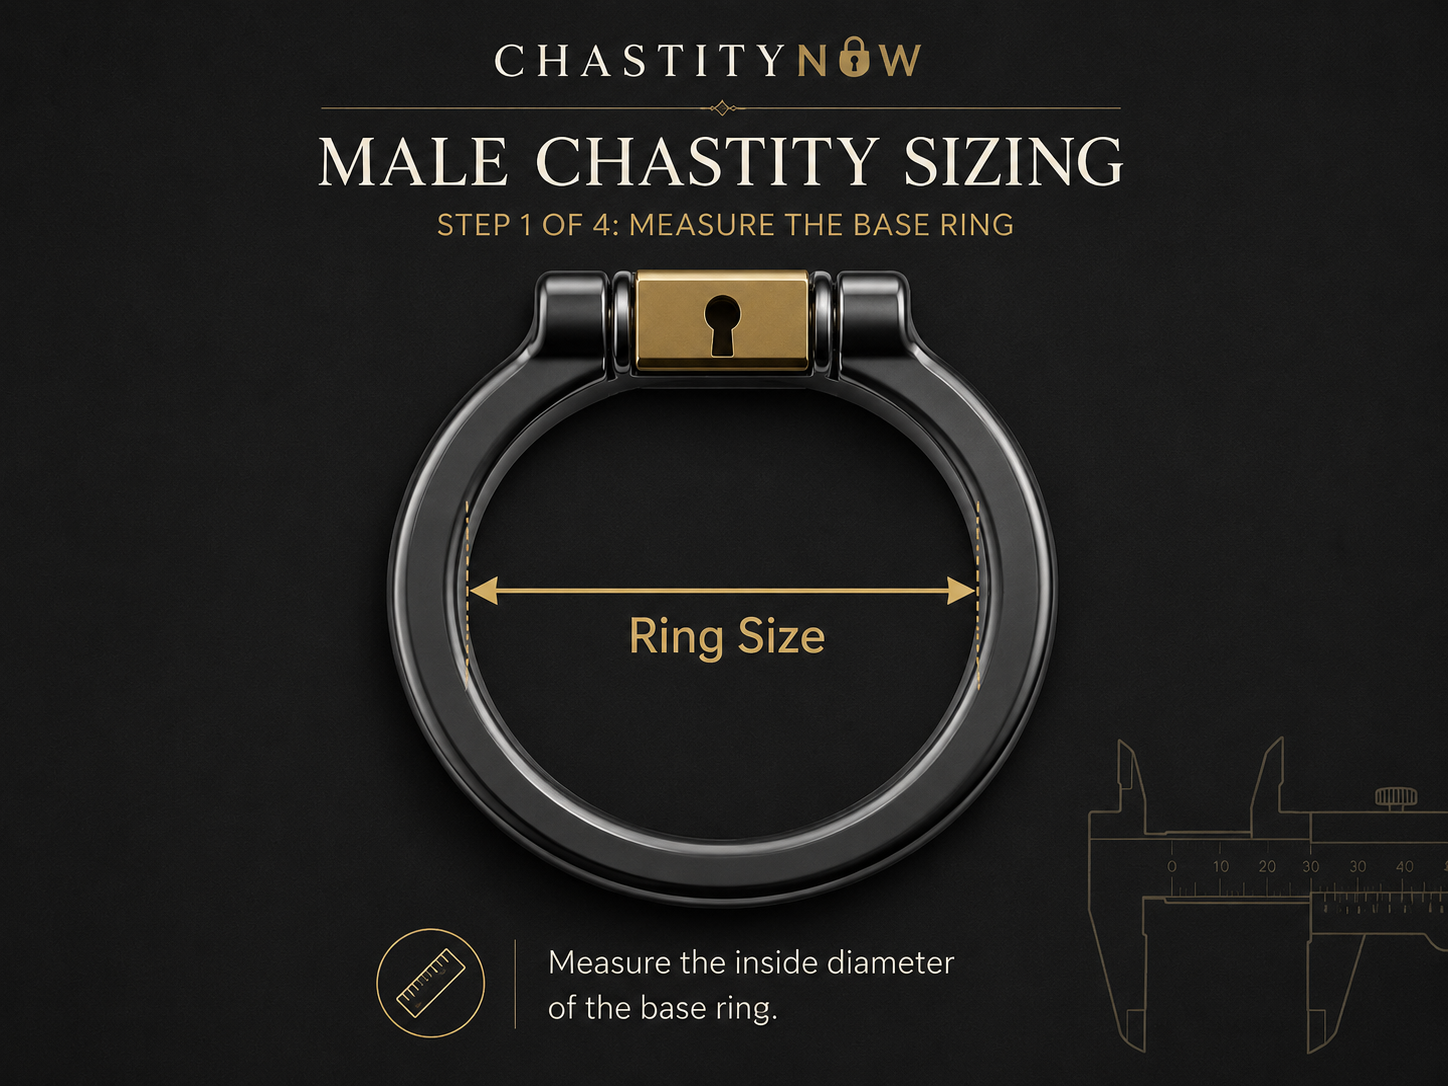
1. Measure base-ring circumference
The base ring on a common cage sits behind both the penis and scrotum. Place the soft tape along the intended ring path and bring it around without twisting. The tape should make contact without digging into the skin. Record the full circumference in millimeters.
Most product rings are labeled by internal diameter. To convert circumference to diameter, divide circumference by pi (about 3.14). Keep the original circumference in your notes so you can check the calculation and compare oval or shaped rings later.
2. Measure relaxed usable length
Stand naturally. Place the ruler along the top and measure from the body-side base to the tip while fully relaxed. Do not stretch forward, and do not press deeply to chase a longer number. Record several readings as a small range.
Product pages may list total exterior length, internal usable length or a measurement that includes the lock. Those values are not interchangeable. Ask the seller or consult a dimension drawing before applying a body measurement to a product label.

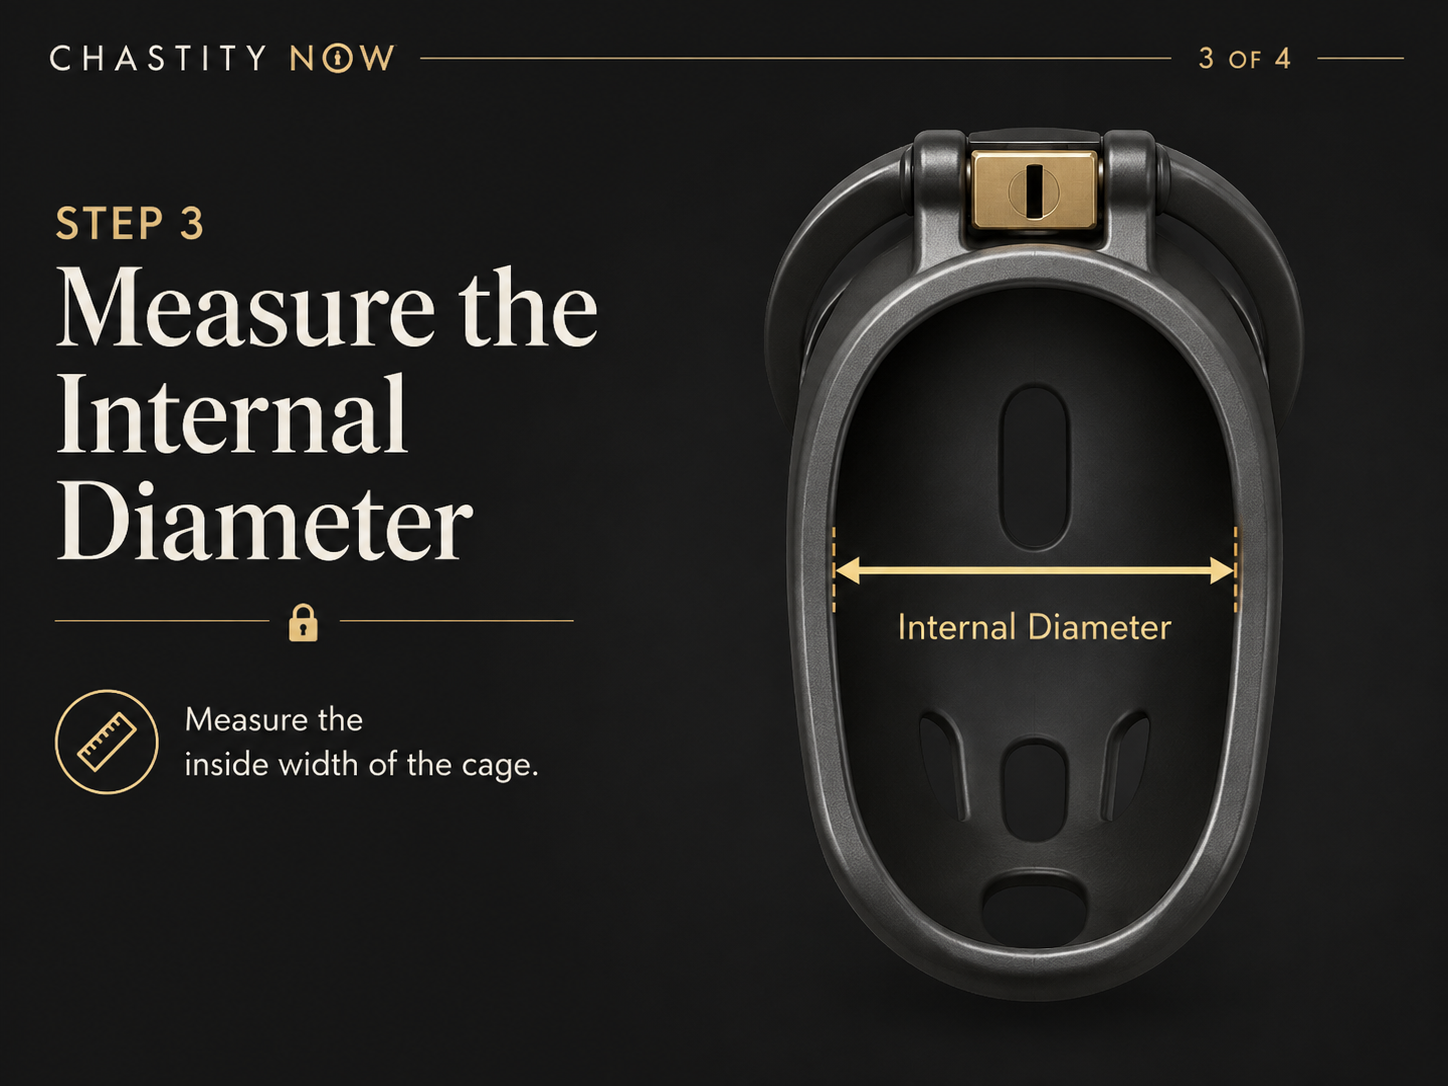
3. Measure circumference for internal width
Wrap the soft tape around the widest relaxed part of the shaft without compression. Divide this circumference by 3.14 if the cage lists a round internal diameter. For oval, tapered or irregular cages, request internal width and height rather than assuming one diameter describes the available space.
The goal is enough room to sit without folding or a concentrated pressure line. Choosing a smaller width to increase restriction can instead worsen alignment, hygiene and urination.
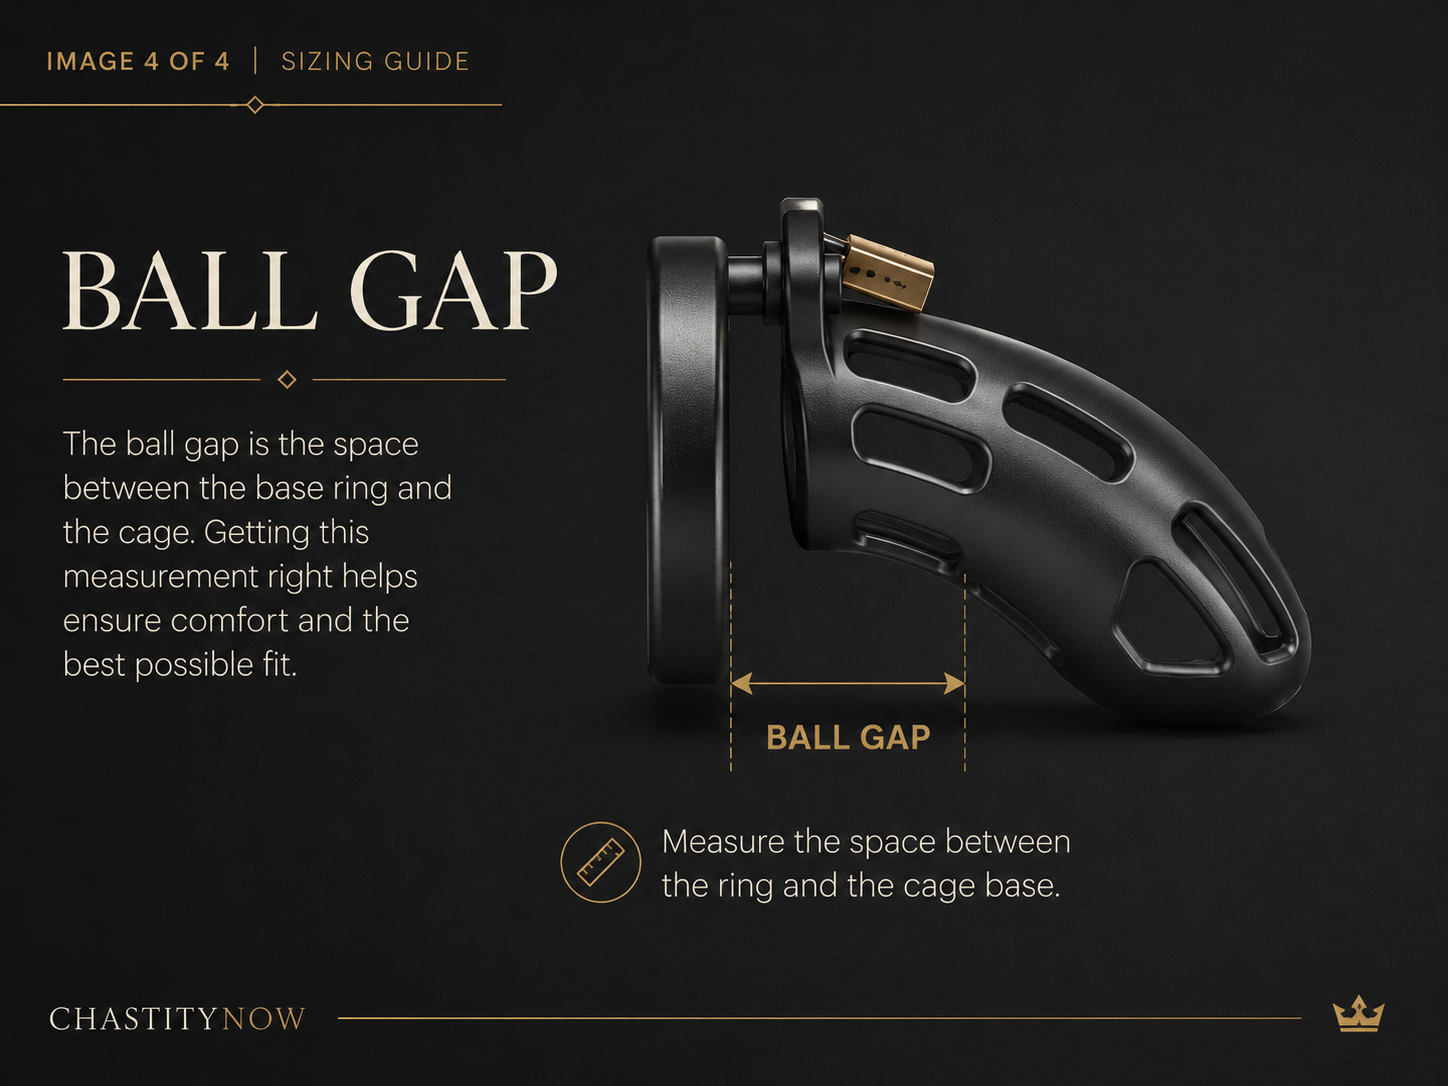
4. Understand the ball gap
The gap is a device measurement: the distance between the base ring and the rear of the cage. Bodies and ring shapes interact differently with the same listed gap, so there is no universal conversion from a tape measurement. Start with the maker’s guidance and a configuration that can be adjusted.
During an unlocked fitting, check the gap while standing and sitting. Too little may pinch or pull tissue into the connector; too much may allow instability or slippage. The dedicated ball-gap guide explains those patterns.
Record the result in a comparison table
| Measurement | Your record | Product value to request |
|---|---|---|
| Base path | Circumference and calculated diameter | Ring internal dimensions and shape |
| Relaxed length | Repeated natural range | Usable internal cage length |
| Relaxed width | Circumference and calculated diameter | Internal width/height at relevant points |
| Gap | Fit-test notes | Fixed or adjustable ring-to-cage spacing |
Validate with an unlocked fit test
Numbers cannot reveal a rough seam, a pulling angle or how a curved ring behaves in a chair. Assemble the selected configuration, wear it unlocked and move normally. Check stability, bathroom alignment and skin contact. Remove it and inspect.
If the base ring is the uncertain part, use the ring-size guide to test fit without treating tightness as security. Change one variable at a time and update your record.
Chainmail Chastity Cage (Adjustable Ring)
While your base-ring number is still a range rather than a single value, the Chainmail Adjustable takes a different approach: its one-piece ring adjusts continuously across a stated 38–60 mm span, so the same device can follow your measurement record as the readings settle. Cage length is chosen separately as Short or Long. Check: the adjustment is in the ring, not the cage — your measured length still decides the body you pick.

Common measuring mistakes
- Measuring when erect because the device will be worn during arousal.
- Pulling a tape tight to obtain a smaller ring.
- Using exterior product dimensions as usable internal space.
- Recording inches for one value and millimeters for another without labels.
- Taking one measurement in an unusually cold or tense state.
- Ignoring gap because the product page does not feature it prominently.
Measurement quality checks
Repeat the measurements on at least two calm occasions and write the conditions beside them. If results vary widely, do not average blindly. Check tape position, temperature and whether you compressed soft tissue. A small natural range is expected; a large disagreement usually means the method changed.
Keep all dimensions in one unit. Millimeters reduce conversion mistakes when comparing small components. If a seller publishes inches, convert once and retain both values with labels.
Measurements that a listing may omit
Ask about internal length along a curve, narrowest internal width, ring thickness, fixed gap and pin length. Total exterior length and shipping weight are not substitutes. A clear technical drawing is stronger evidence than a model name shared by several sellers.
The Fit & Comfort hub connects this component with the full measurement and diagnostic process.
Body measurements and device specifications are different
| Input from the body | Specification to find on the device | Common listing trap |
|---|---|---|
| Base-ring circumference | Internal ring diameter, shape and thickness | Exterior diameter or an unexplained size number |
| Relaxed usable length | Usable internal length along the relevant curve | Total product length including lock |
| Relaxed shaft circumference | Narrowest internal width/diameter | Maximum exterior width |
| Observed tissue clearance | Assembled ring-to-cage gap by spacer/ring style | Pin length presented as final gap |
For a circular estimate, divide circumference by π (approximately 3.1416) to obtain diameter in the same unit. Keep the original circumference beside the result so a conversion error is visible. The calculation creates a comparison input; it does not prove a safe ring size.
Measurement record
| Dimension | Attempt 1 | Attempt 2 | Range kept | Device spec checked |
|---|---|---|---|---|
| Base-ring circumference | ___ mm | ___ mm | ___ mm | Inner diameter / shape |
| Relaxed usable length | ___ mm | ___ mm | ___ mm | Usable internal length |
| Shaft circumference | ___ mm | ___ mm | ___ mm | Narrowest internal width |
| Ball-gap observation | Configuration ___ | Configuration ___ | Test required | Final assembled gap |
Sources and measurement notes
- KINK3D sizing guidance — useful manufacturer evidence that relaxed length should be measured repeatedly and that a calculator is guidance rather than a final fit verdict.
- HolyTrainer design specifications — illustrates why product listings must distinguish tube dimensions, internal diameter and ring diameter.
- KINK3D FAQ — product-specific context showing that ring style changes effective gap and that gap selection often requires trial rather than a universal number.
Editorial note: Manufacturer conventions differ. These sources support measurement literacy; they do not establish a safe size for every body or device.
The measurement rule to remember
Good measurement produces four documented inputs and a range, not a single magic size. Match those inputs to transparent internal product dimensions, then confirm them with an unlocked movement test. Fit is an iterative result, not a number printed on a box.